Wiki
Wiki.js
Wiki.js is one of the most powerful and extensible Wiki software. The Energy Logserver have integration plugin with Wiki.js, which allows you to access Wiki.js directly from the Energy Logserver GUI. Additionally, Energy Logserver provides access management to the Wiki content.
Login to Wiki
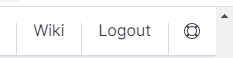
Access to the Wiki is from the main Energy Logserver GUI window via the Wiki button located at the top of the window:
Creating a public site
There are several ways to create a public site:
- by clicking the New Page icon on the existing page;
- by clicking on a link of a non-existent site;
- by entering the path in the browser’s address bar to a non-existent site;
- by duplicating an existing site;
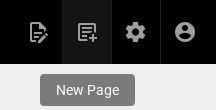
Create a site by clicking the New Page icon on an existing page
On the opened page, click the New Page button in the menu at the top of the opened website:
A new page location selection window will appear, where in the Virtual Folders panel you can select where the new page will be saved.
In the text field at the bottom of the window, the new-page string is entered by default, specifying the address of the page being created:

After clicking on the SELECT button at the bottom of the window, a window will appear with the option to select the editor type of the newly created site:
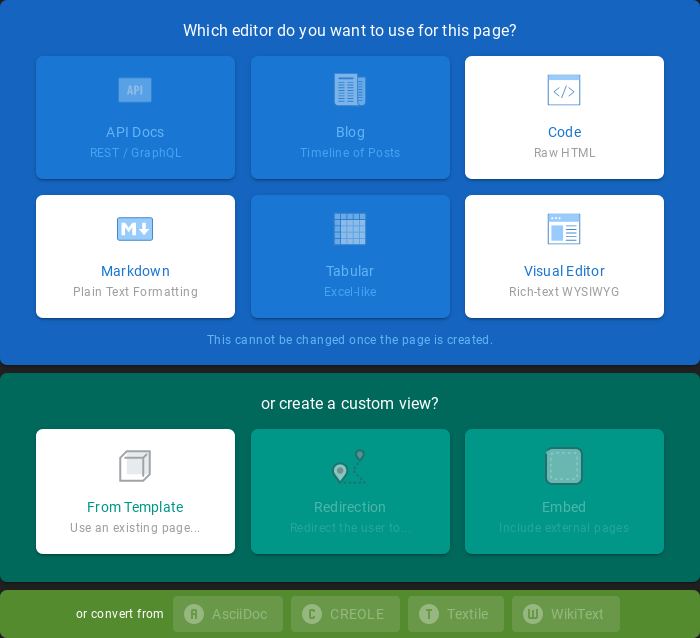
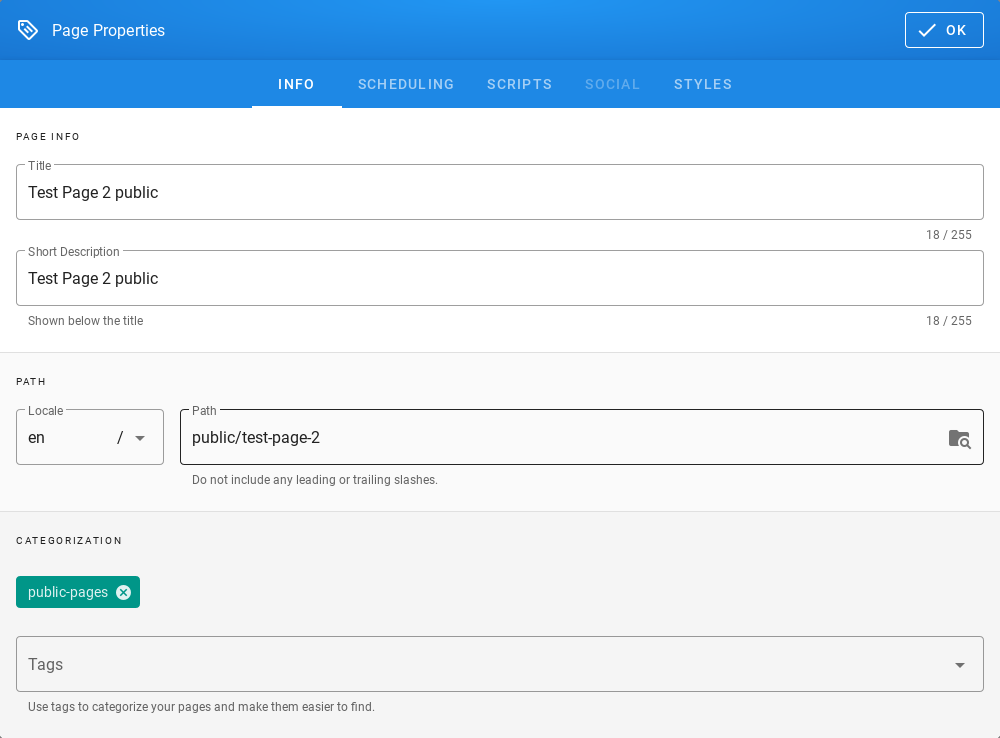
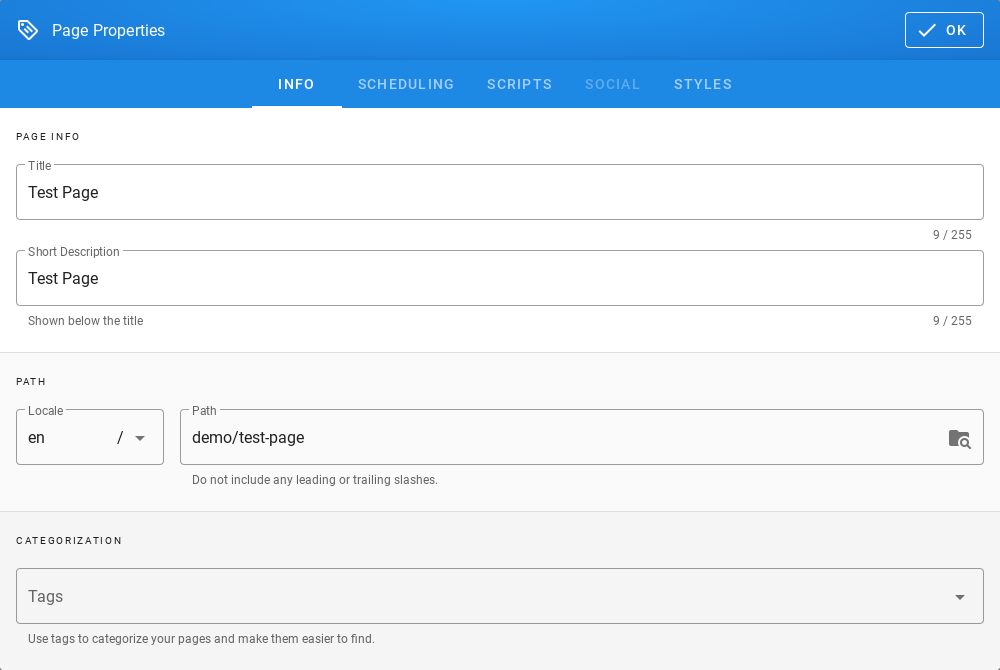
After selecting the site editor (in this case, the Visual Editor editor has been selected), a window with site properties will appear where you can set the site title (change the default page title), set a short site description, change the path to the site and optionally add tags to the site:
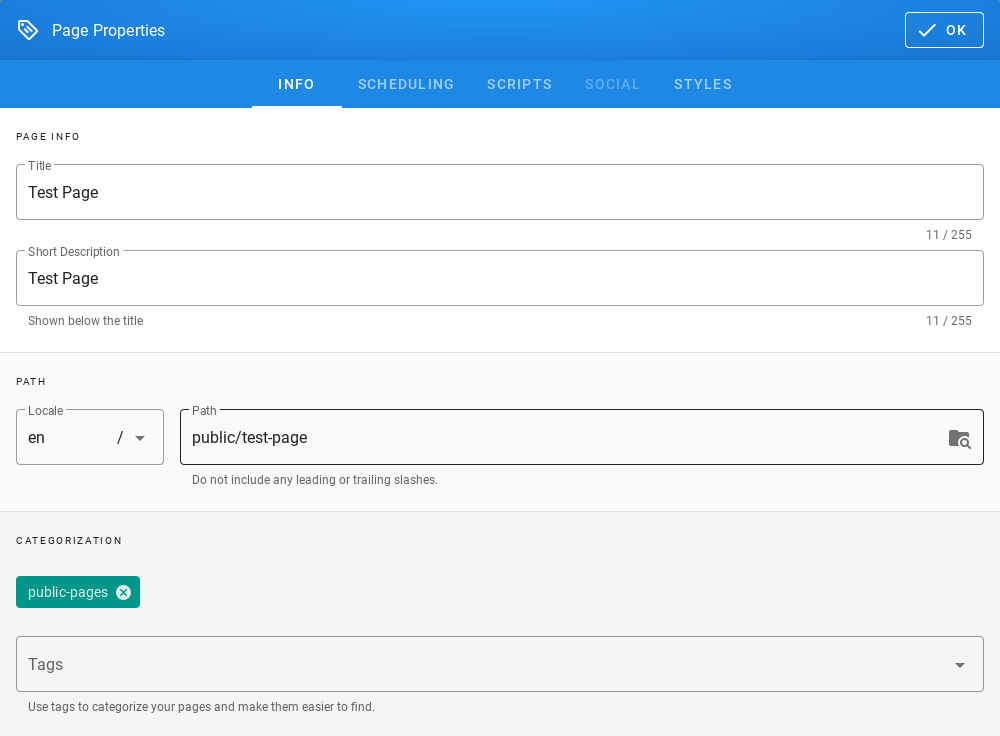
A public site should be placed in the path /public which is available for the Guest group and have the public-pages tag assigned. The public-pages tag mark sites are accessible to the “Guest” group.
After completing the site with content, save it by clicking on the Create button located in the menu at the top of the new site editor:

After the site is successfully created, the browser will open the newly created site.
Create a site by typing a nonexistent path into the browser’s address bar
In the address bar of the browser, enter the address of non-existent websites, e.g. by adding /en/public/test-page to the end of the domain name:

The browser will display the information ***This page does not exists yet.***, Below there will be a button to create a CREATE PAGE page (if you have permission to create a site at the given address):

After clicking the CREATE PAGE button, a window with site properties will appear where you can set the site title (change the default page title), set a short site description, change the path to the site and optionally add tags to the site:

A public site should be placed in the path /public which is available for the Guest group and have the public-pages tag assigned. The public-pages tag mark sites are accessible to the Guest group.
After completing the site with content, save it by clicking on the Create button located in the menu at the top of the new site editor:
After the site is successfully created, the browser will open the newly created site.
Create a site by duplicating an existing site
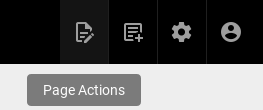
On the open page, click the Page Actions button in the menu at the top of the open site:
The list of actions that can be performed on the currently open site will appear:
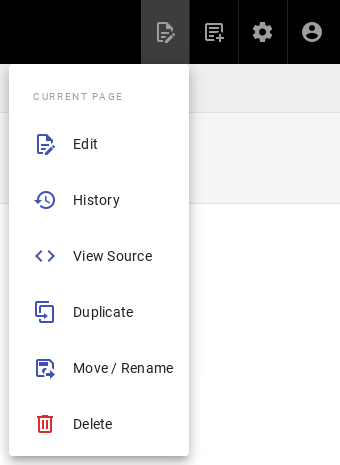
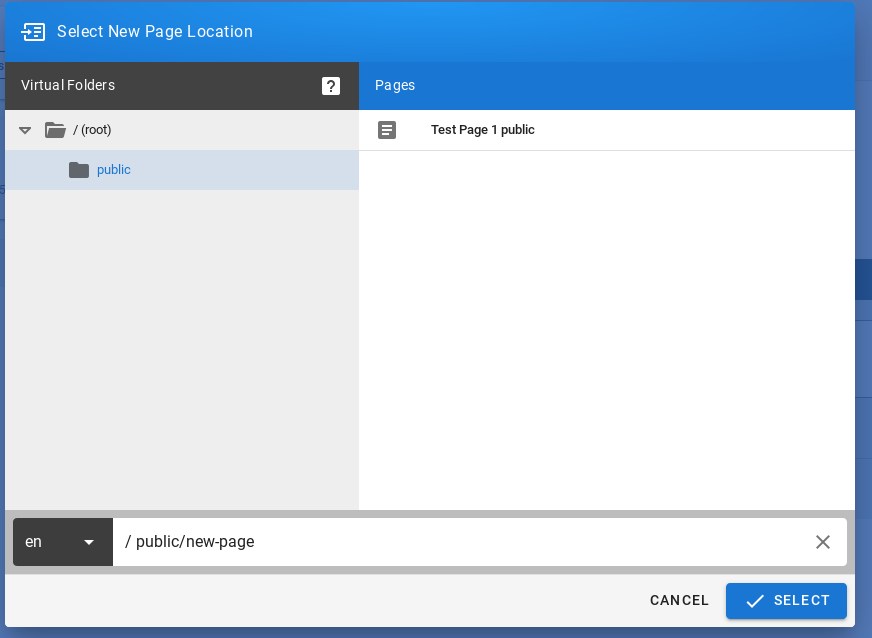
From the expanded list of actions, click on the Duplicate item, then a new page location selection window will appear, where in the Virtual Folders panel you can indicate where the new page will be saved. In the text field at the bottom of the window, the string public/new-page is entered (by default), specifying the address of the page being created:
After clicking the SELECT button, a window with site properties will appear where you can set the site title (change the title of the duplicated page), set a short site description (change the description of the duplicated site), change the path to the site and optionally add tags to the site:
A public site should be placed in the path /public which is available for the Guest group and have the public-pages tag assigned. The public-pages tag mark sites are accessible to the Guest group.
After completing the site with content, save it by clicking on the Create button located in the menu at the top of the new site editor:
After the site is successfully created, the browser will open the newly created site.
Creating a site with the permissions of a given group
To create sites with the permissions of a given group, do the following:
Check the permissions of the group to which the user belongs. To do this, click on the Account button in the top right menu in Wiki.js:
After clicking on the Account button, a menu with a list of actions to be performed on your own account will be displayed:
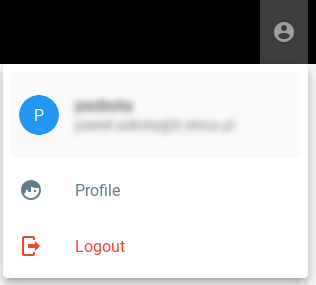
From the expanded list of actions, click on the Profiles item, then the profile of the currently logged in user will be displayed. The Groups tile will display the groups to which the currently logged in user belongs:

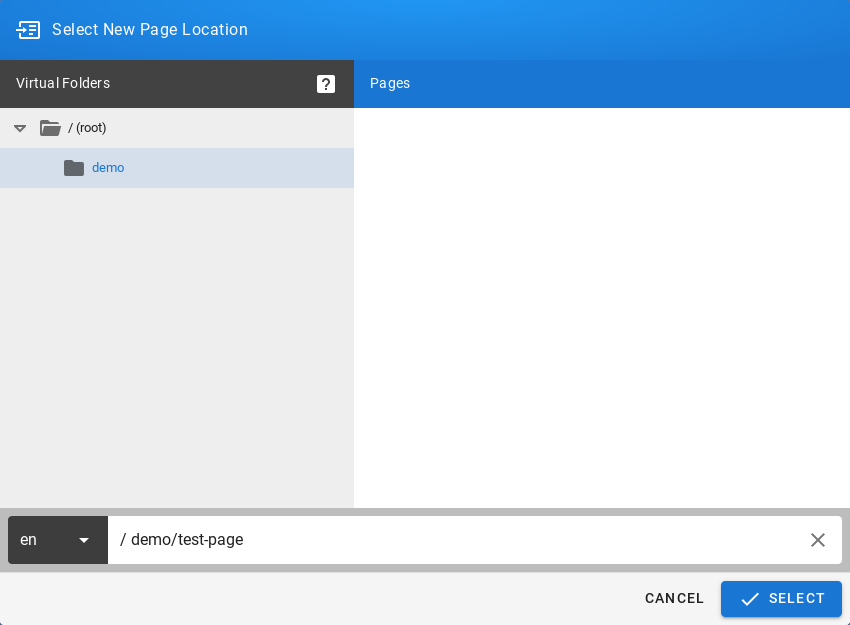
Then create the site in the path, putting the name of the group to which the user belongs. In this case it will be putting your site in the path starting with /demo(preceded by an abbreviation of the language name):
Click the SELECT button at the bottom of the window, a new window will appear with the option to select the editor type for the newly created site:

After selecting the site editor (for example Visual Editor), a window with site properties will appear where you can set the site title (change the default page title), set a short site description, change the path to the site and optionally add tags to the site:
After completing the site with content, save it by clicking the Create button in the menu at the top of the new site editor

After the site is successfully created, the browser will open the newly created site.
Content management
Text formatting features
- change the text size;
- changing the font type;
- bold;
- italics;
- stress;
- strikethrough;
- subscript;
- superscript;
- align (left, right, center, justify);
- numbered list;
- bulleted list;
- to-do list;
- inserting special characters;
- inserting tables;
- inserting text blocks Wiki.js also offers non-text insertion.
Insert Links
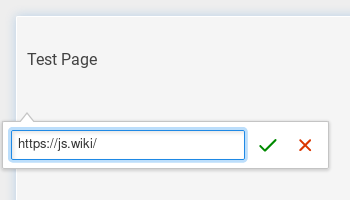
- To insert links, click in the site editor on the Link icon on the editor icon bar:

After clicking on the icon, a text field will appear to enter the website address:
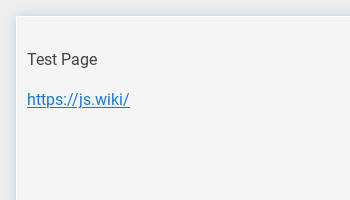
Then click the Save button (green sign next to the text field), then the address to the external site will appear on the current site:
Insert images
To insert images, click in the site editor on the Insert Assets icon on the editor icon bar:

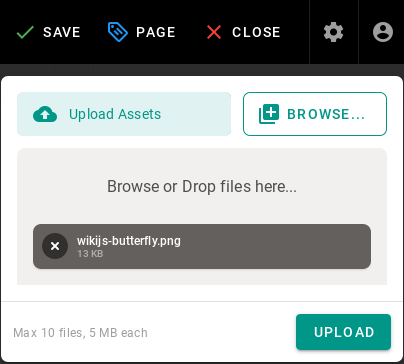
After clicking on the icon, the window for upload images will appear:
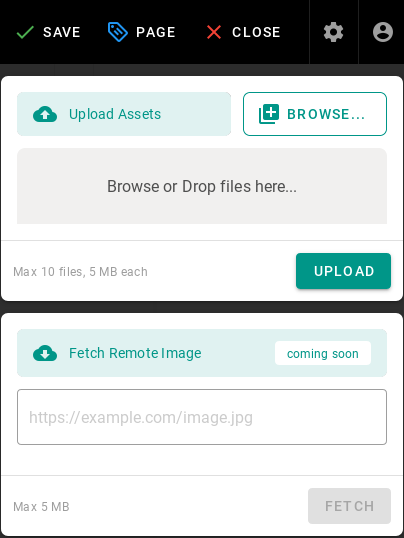
To upload the image, click the Browse button (or from the file manager, drag and drop the file to the Browse or Drop files here … area) then the added file will appear on the list, its name will be on a gray background:
Click the UPLOAD button to send files to the editor, after the upload is completed, you will see information about the status of the operation performed:
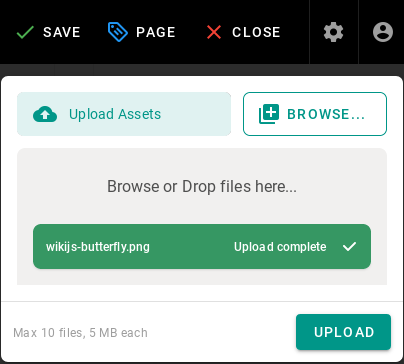
After uploading, the image file will also appear in the window where you can select images to insert:

Click on the file name and then the INSERT button to make the image appear on the edited site:
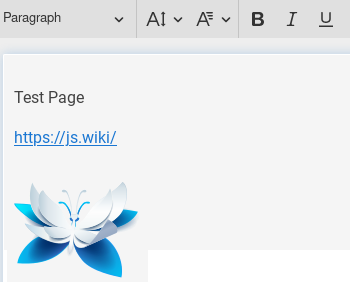
After completing the site with content, save it by clicking the CREATE button in the menu at the top of the editor of the new site:

or the SAVE button in the case of editing an existing site:

After the site is successfully created, the browser will open the newly created site.
Create a “tree” of documents
Wiki.js does not offer a document tree structure directly. Creating a structure (tree) of documents is done automatically by grouping sites according to the paths in which they are available.
To create document structures (trees), create sites with the following paths:
/en/linux/1-introduction
/en/linux/2-installation
/en/linux/3-configuration
/en/linux/4-administration
/en/linux/5-summary
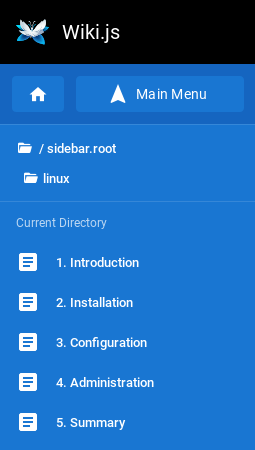
The items in the menu are sorted alphabetically, so the site titles should begin with a number followed by a dot followed by the name of the site, for example:
- for the site in the path /en/linux/1-introduction you should set the title 1.Introduction;
- for the site in the path /en/linux/2-installation you should set the title 2.Installation;
- for the site in the path /en/linux/3-configuration you should set the title 3.Configuration;
- for the site in the path /en/linux/4-administration you should set the title 4.Administration;
- for the site in the path /en/linux/5-summary you should set the title 5.Summary
In this way, you can create a structure (tree) of documents relating to one topic:
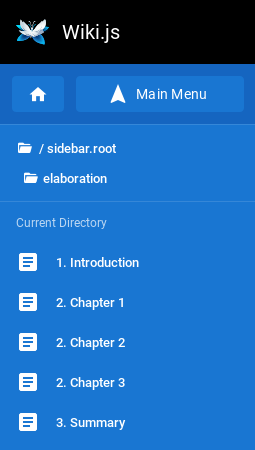
You can create a document with chapters in a similar way. To do this, create sites with the following paths:
/en/elaboration/1-introduction
/en/elaboration/2-chapter-1
/en/elaboration/2-chapter-1
/en/elaboration/2-chapter-1
/en/elaboration/3-summary
The menu items are in alphabetical order. Site titles should begin with a number followed by a period followed by a name that identifies the site’s content:
- for the site in the path /en/elaboration/1-introduction you should set the title 1. Introduction
- for the site in the path /en/elaboration/2-chapter-1 you should set the title 2. Chapter 1
- for the site in the path /en/elaboration/2-chapter-2 you should set the title 2. Chapter 2
- for the site in the path /en/elaboration/2-chapter-3 the title should be set to 2. Chapter 3
- for the site in the path /en/elaboration/3-summary you should set the title 3. Summary
In this way, you can create a structure (tree) of documents related to one document: